This walkthrough takes you from the unpacked device to a successful first login. You will need a display, keyboard, and network cable connected to the openXEdge, and about 10 minutes.
Prerequisites
- openXEdge is mounted and powered
- At least one LAN cable is plugged in (typically Port 1 to the IO-Link master)
- You know the device’s future machine ID (e.g.
PLANT1_M01_GMN) — must be unique across your fleet - A browser on a device in the same network as the edge
Step 1: Determine the edge address
The on-device display shows, after boot, the IP addresses assigned to all three LAN ports. Note the address of the port connected to your service laptop.
Note: factory default is typically Port 1 static (
172.16.9.112), Port 2 DHCP client, Port 3 static towards the IO-Link master.
Step 2: Device activation
Open http://<edge-ip>/ in your browser. Since the device is not yet activated, the home page redirects you to the activation screen:
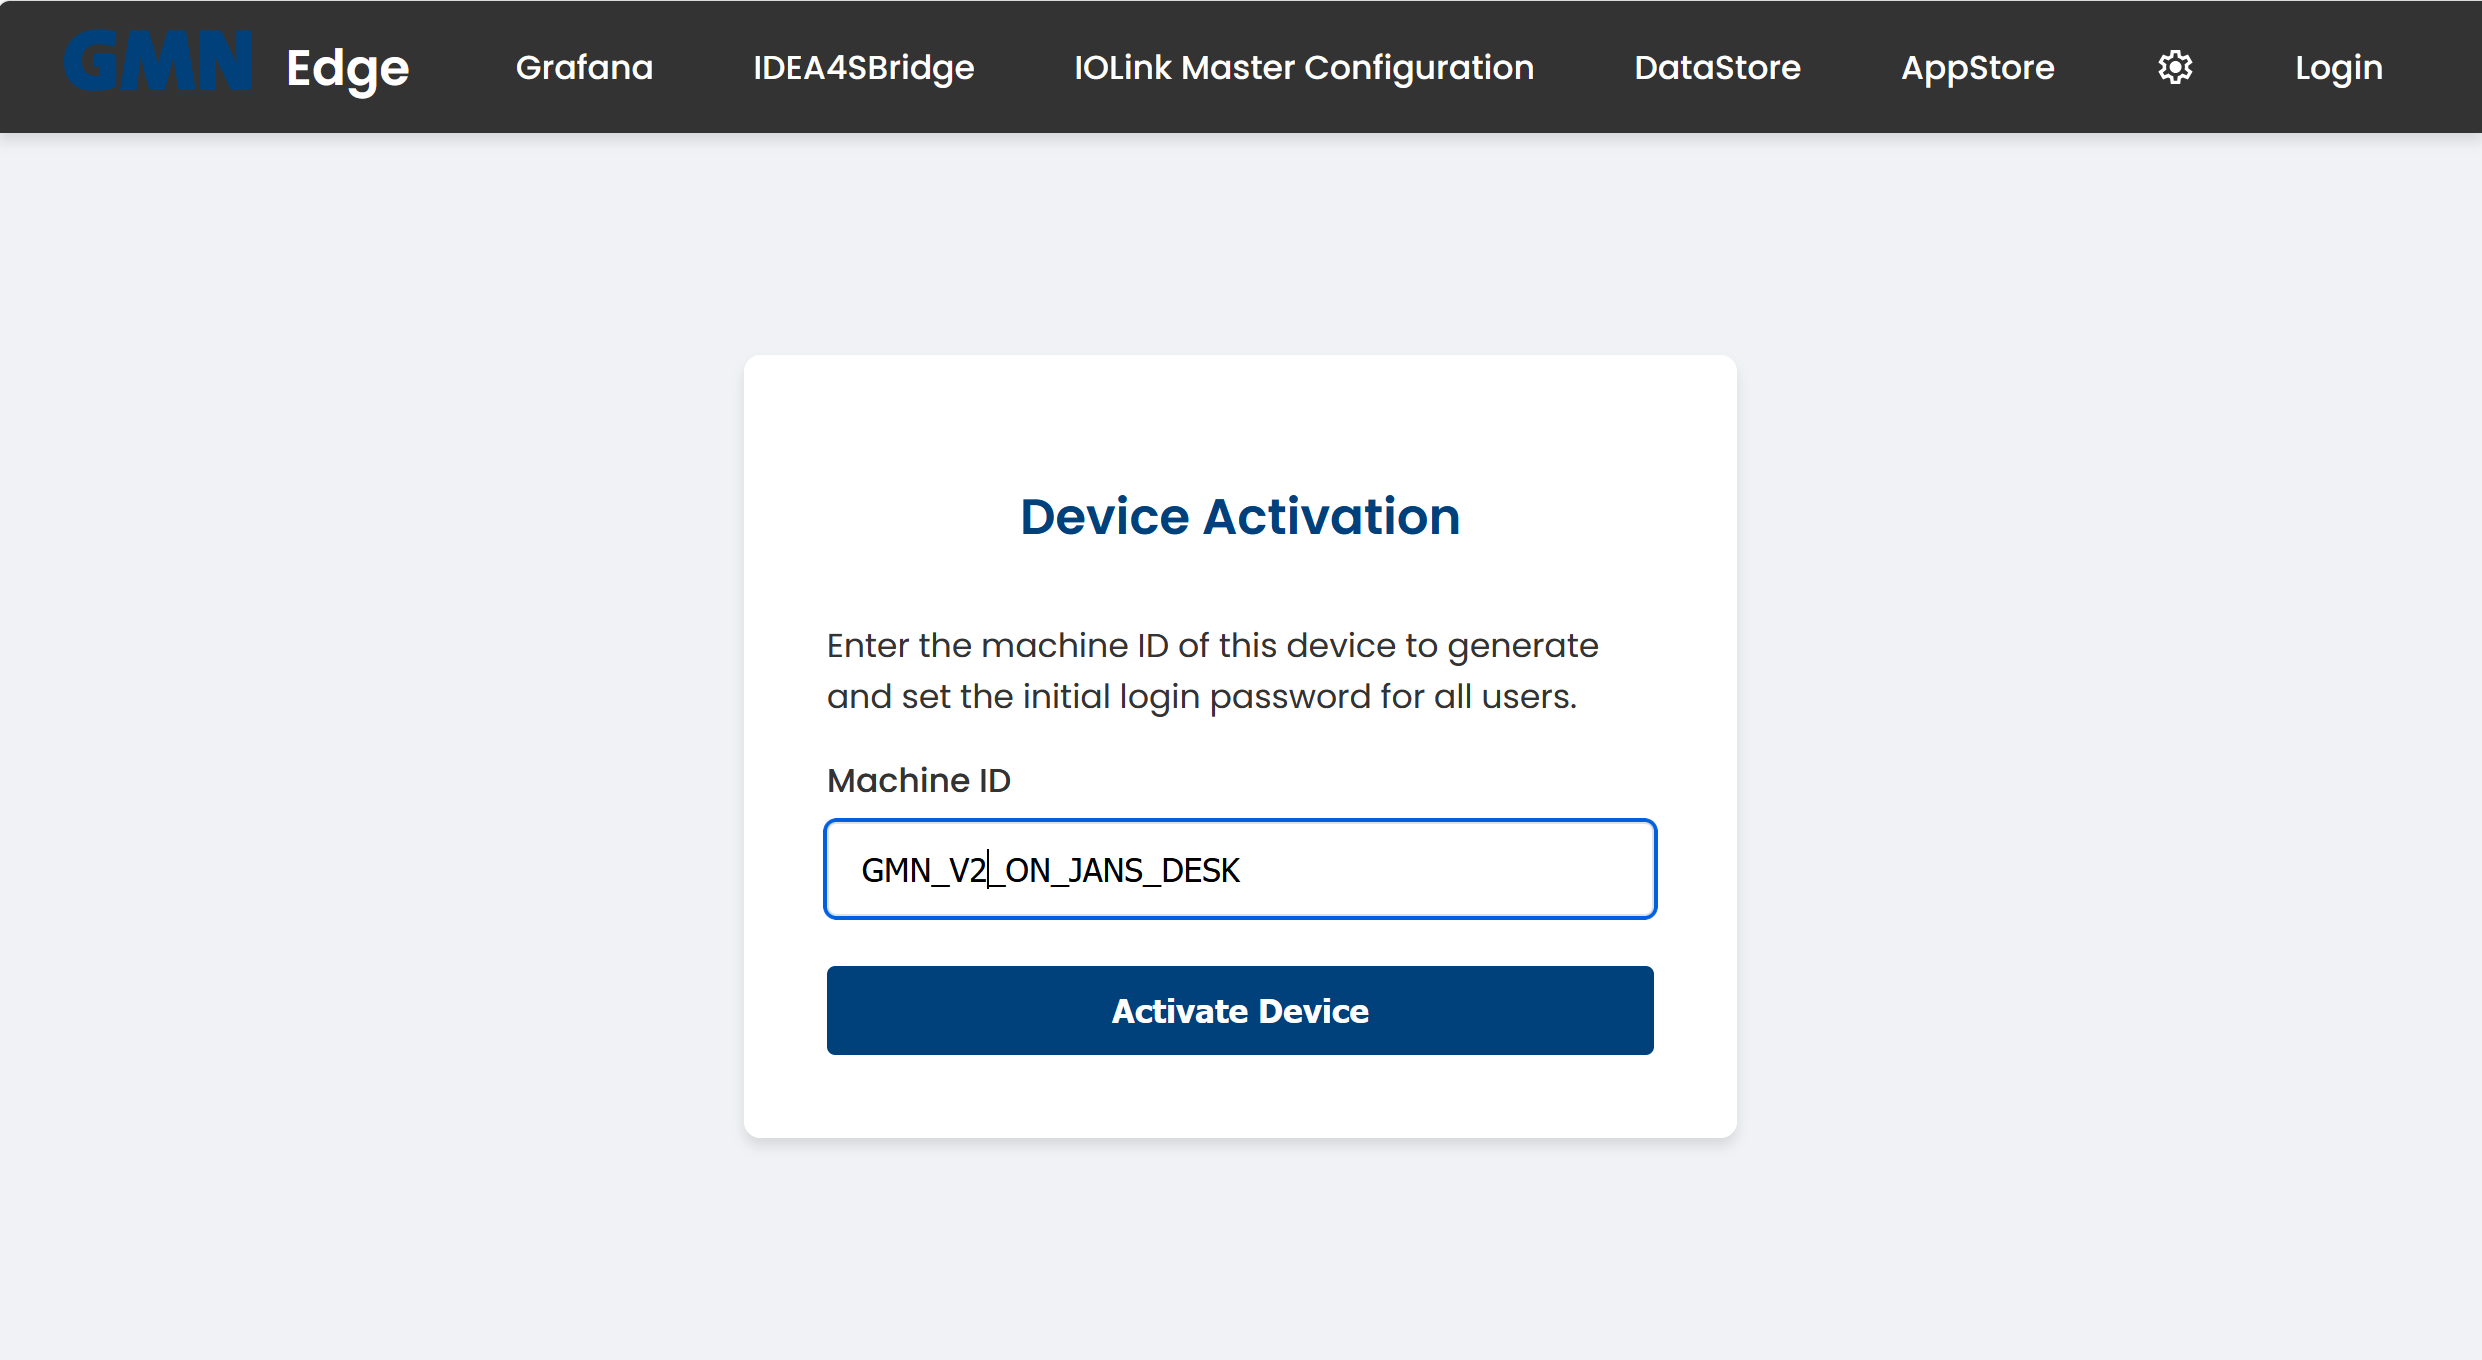
Enter the Machine ID and click Activate Device. This ID identifies the device in fleet management and is also used to derive the initial password.
Step 3: Save the initial password
The initial password is shown only once after activation:
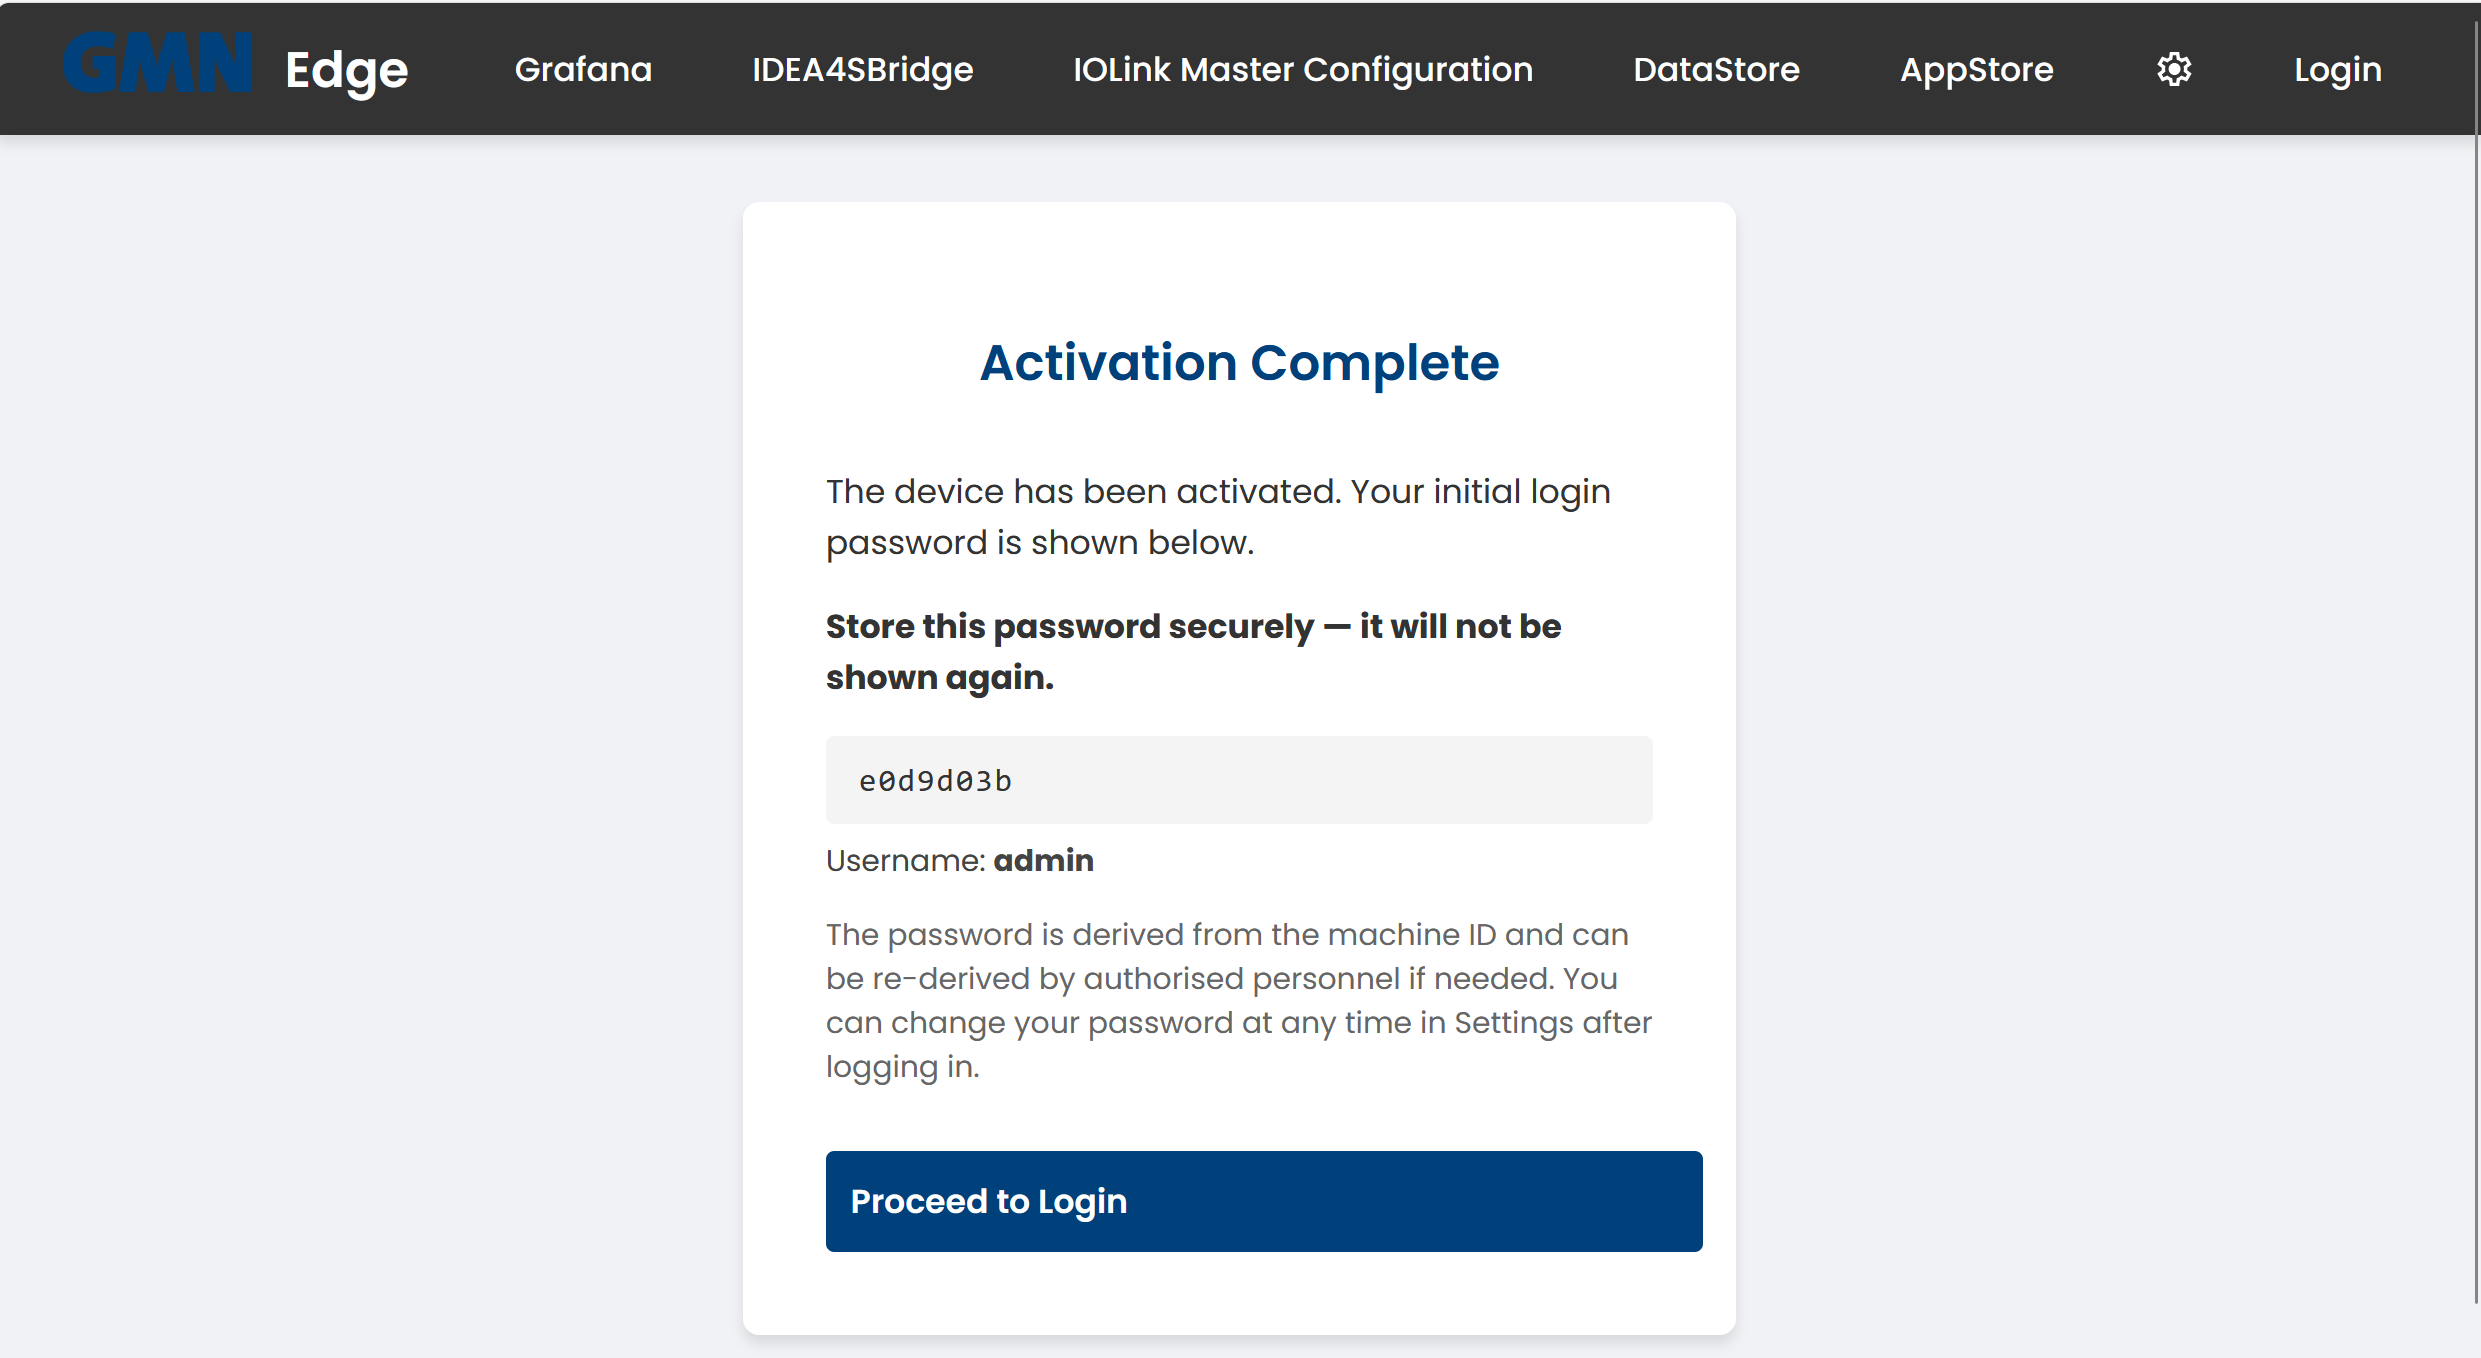
⚠ Important: copy the password now. It is not shown again. The default username is
admin. Authorised personnel can re-derive the password from the machine ID at any time — but change it right after the first login (see Change password).
Step 4: First login
Click Proceed to Login. You land on the sign-in page:
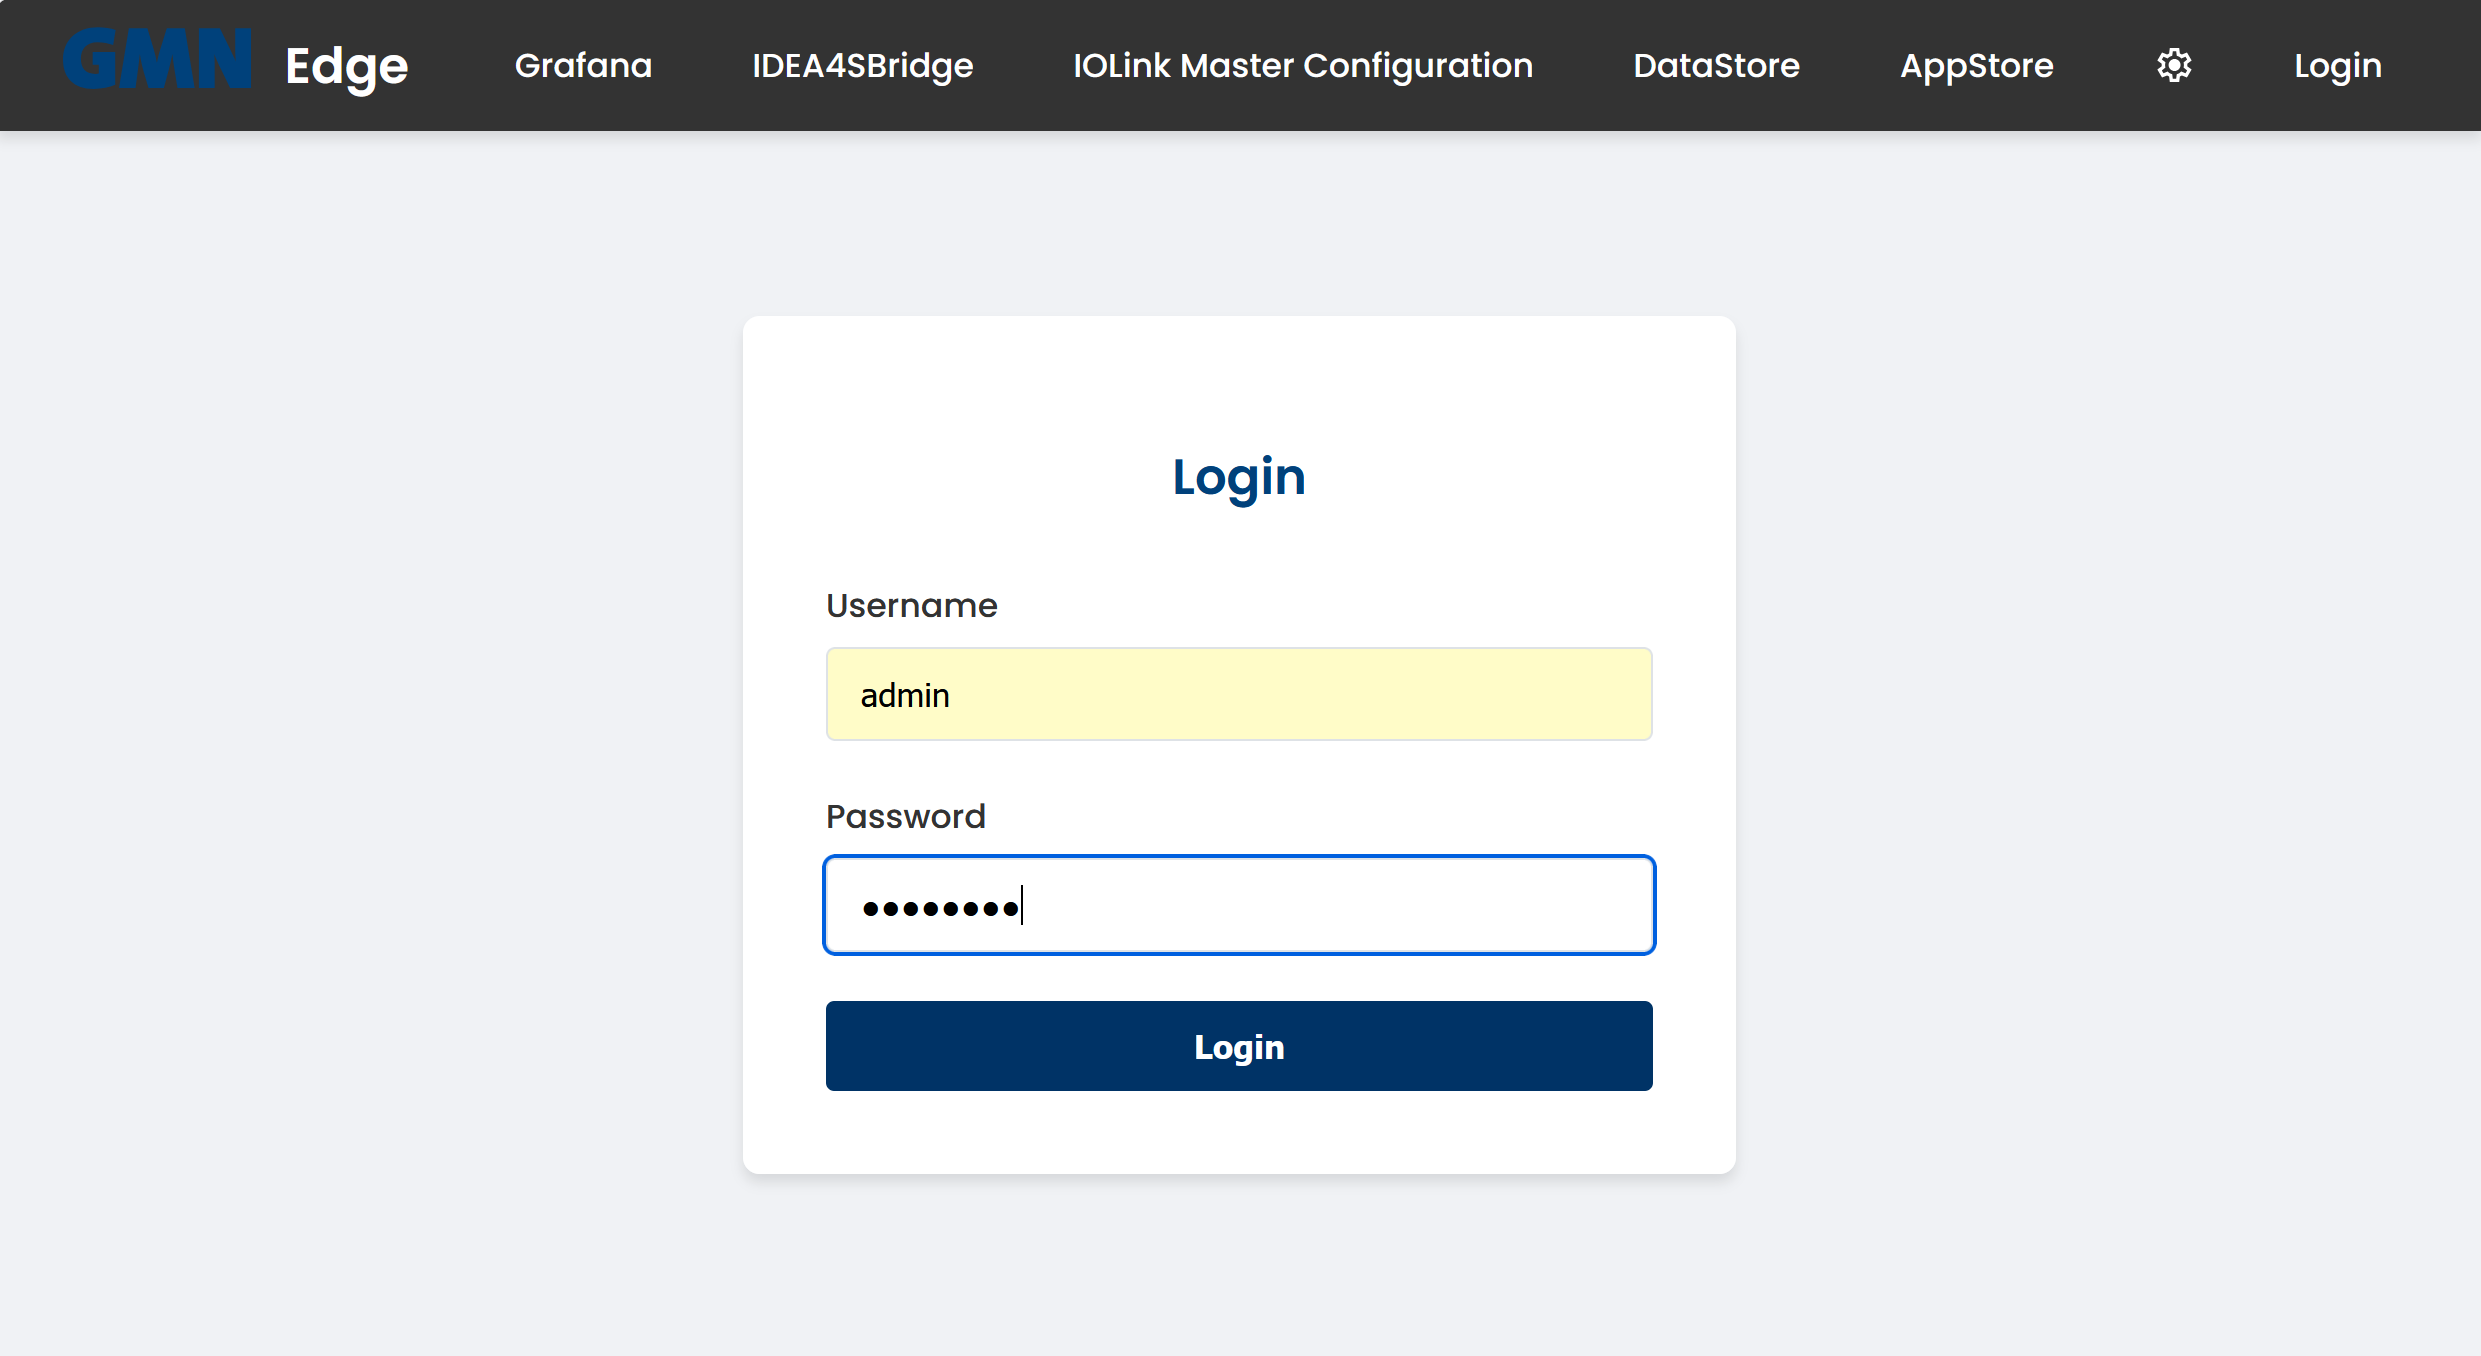
Sign in with admin and the password just shown. You land on the Main Functions home page:
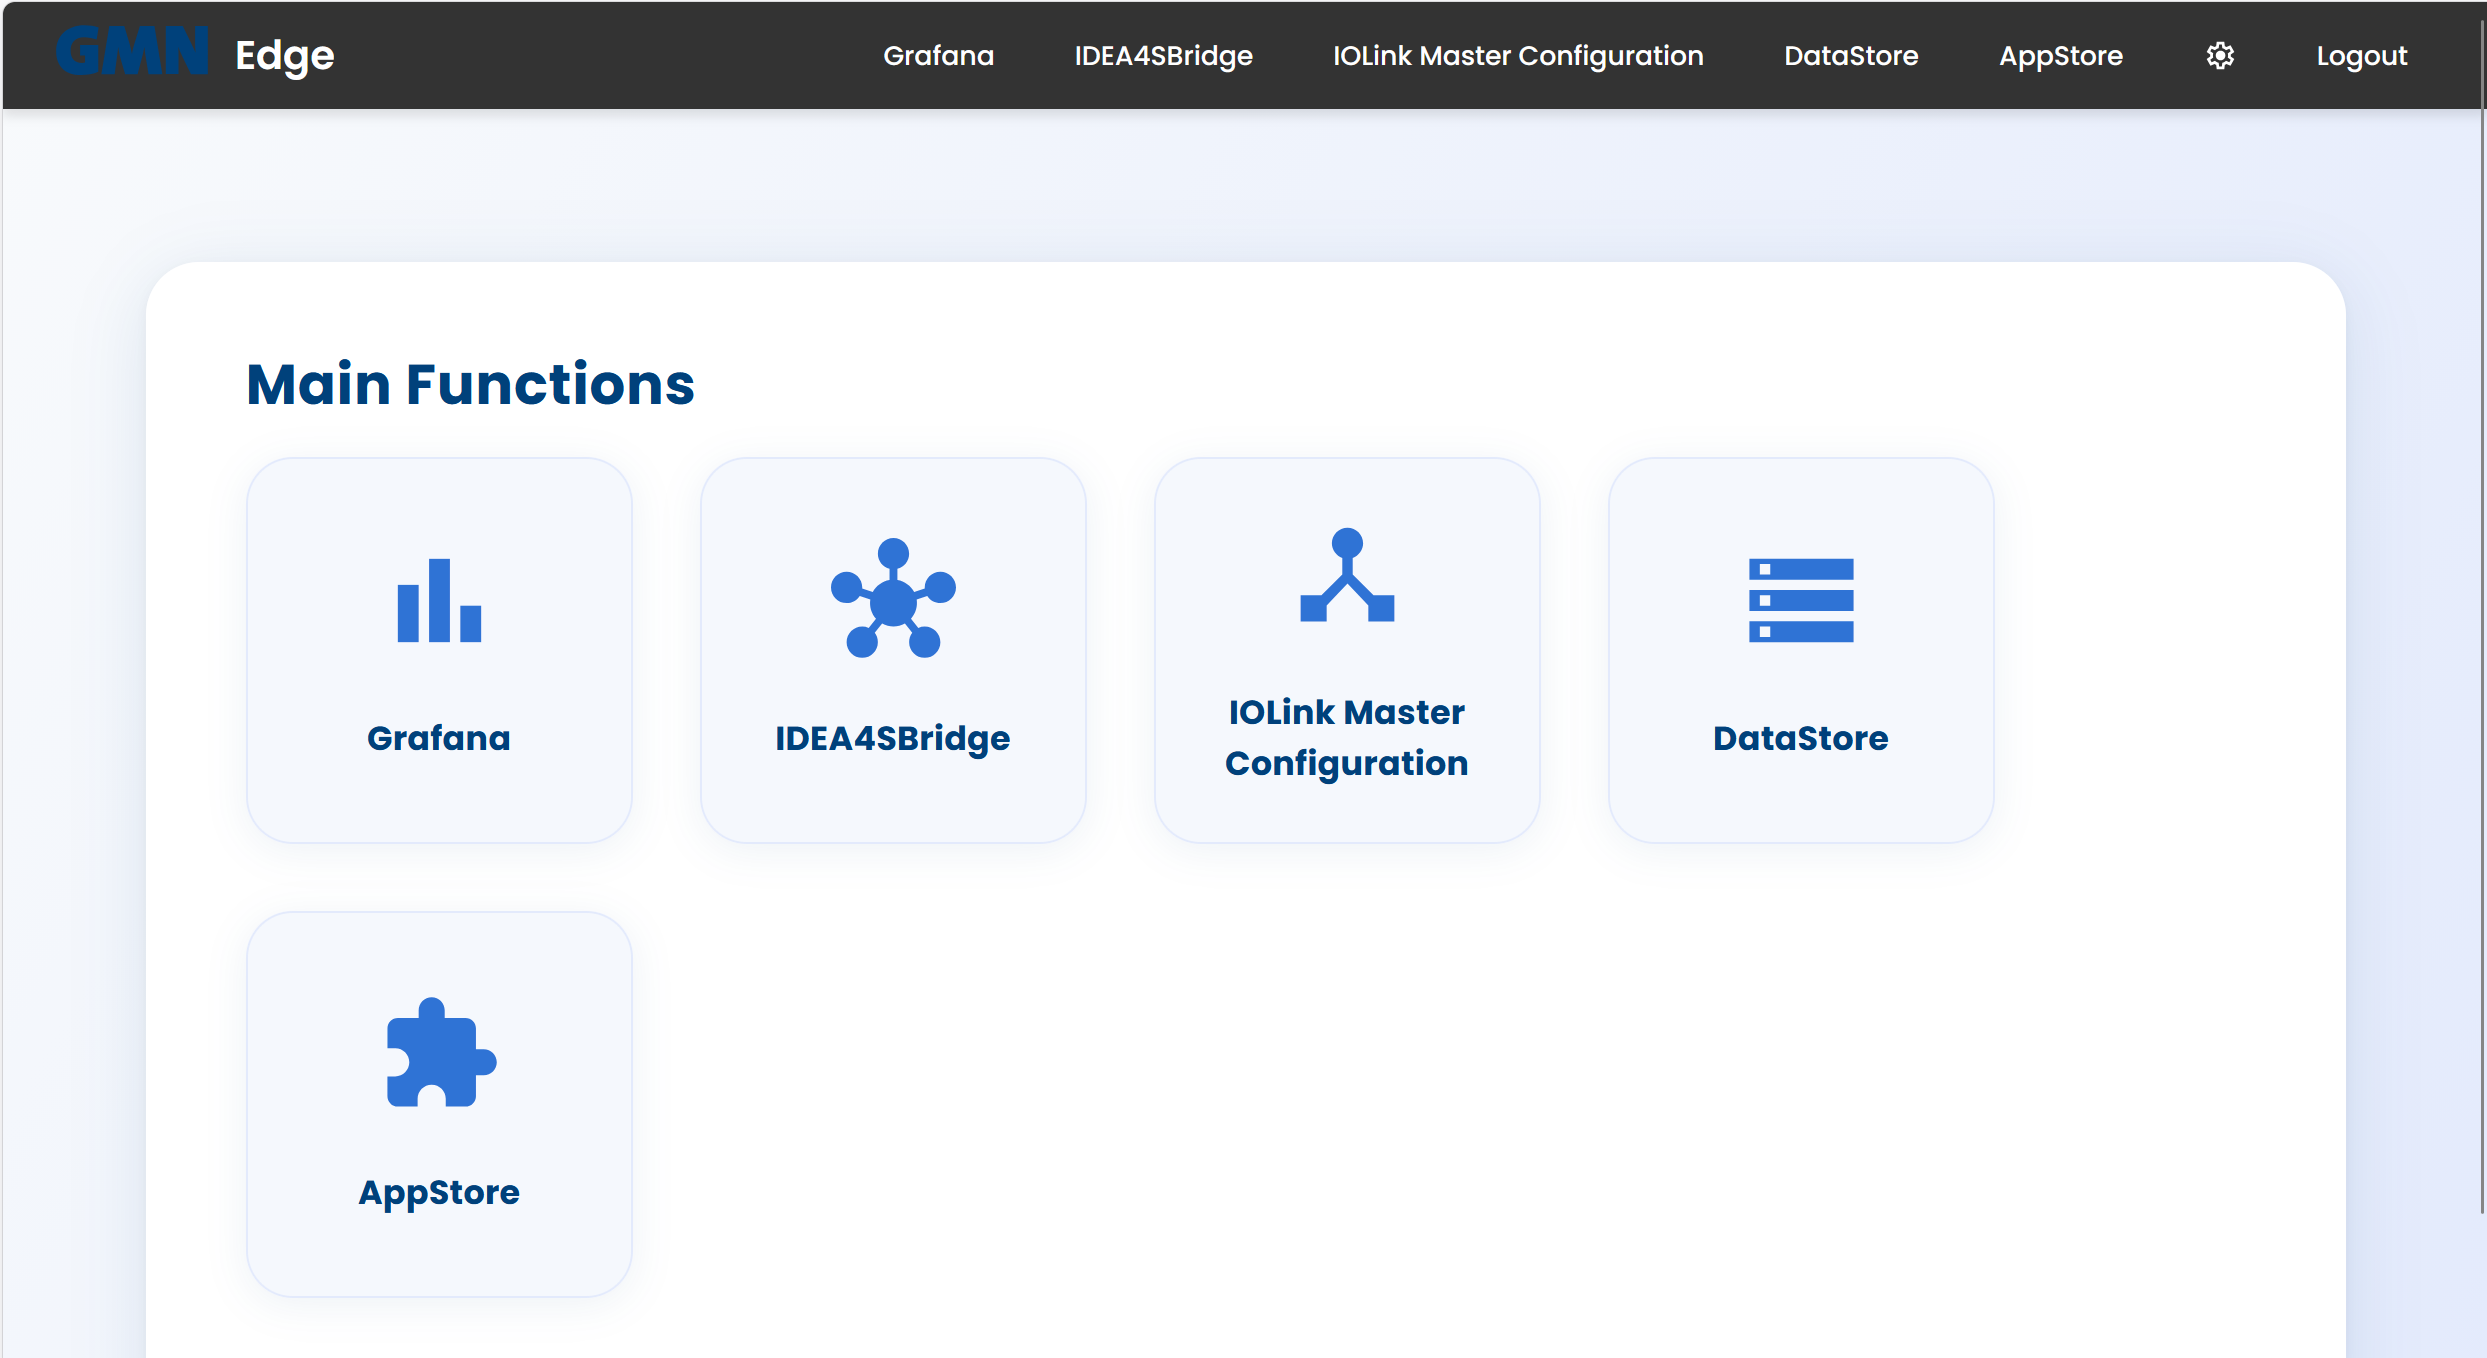
The five tiles map to the five embedded applications:
- Grafana — dashboards and charts of collected measurements
- IDEA4SBridge — overview and configuration of attached IDEA-4S sensors
- IOLink Master Configuration — IFM IO-Link master configuration
- DataStore — internal database (Brinkhaus DataStore)
- AppStore — installable extensions via FLECS
The cog icon top-right opens the settings panel.
Next steps
- Change password
- Configure the network
- Update firmware
- For background: How updates work